Last post, I wrote about how to use the Sandpaper Letters, the foundational Montessori language work. This time, I’ll explain the next step towards teaching your child to read using Montessori’s method: beginning sound object boxes.
This post contains affiliate links. For the full disclosure see my About page.
In the last post, I shared with you the groupings of letters that I use when introducing the sounds. When G was beginning to learn her sounds, I started putting together my object boxes in preparation for the next step of the process.

What Are Object Boxes?
A beginning sound object box is just what it sounds like- it’s a little box full of tiny objects whose names start with each of the sounds. This is another material that you can choose to purchase or DIY. For this one, since object sets are a little bit pricier, we went the DIY route.
For each set of sounds you’ll need a box. These are pretty close to the ones that we have for each set. I labeled each box with the sounds that it contains using my label maker, but you can totally just use a sharpie.
Then you start collecting. The goal is to get at least 3 or 4 objects for each sound. Obviously some sounds are easier than others, so for some we have a bunch of objects and for others just a couple. If you’re going to DIY these,I highly recommend putting the all call out to your family and friends. Everyone has tiny objects in their junk drawers! My MIL was hugely instrumental in finding objects for me, as she’s got a great gift for locating just the right items. Thrift stores are also great places to find tiny items. And dollhouse accessories or fairy garden pieces are often just the right size. The idea is tiny because tiny objects are wildly appealing to little children, who often aren’t allowed to have items with small pieces.

If collecting objects isn’t for you, Montessori by Mom makes a set that is pretty affordable and will be enough to get you started, though you will probably want to supplement it and add more objects as you go.
I Have My Objects, What Do I Do With Them?

There are a couple of options for when to introduce the object boxes. Some people prefer to teach the entirety of the sounds before beginning them. Personally, given my own kids personalities, I’ve found it best to introduce the object boxes once my child has mastered a set of sounds. This means that we are doing the two in parallel- they are working on an object box for one set, while learning the sounds for the next set. For us this has made the most sense because it helps them to maintain both mastery and interest.

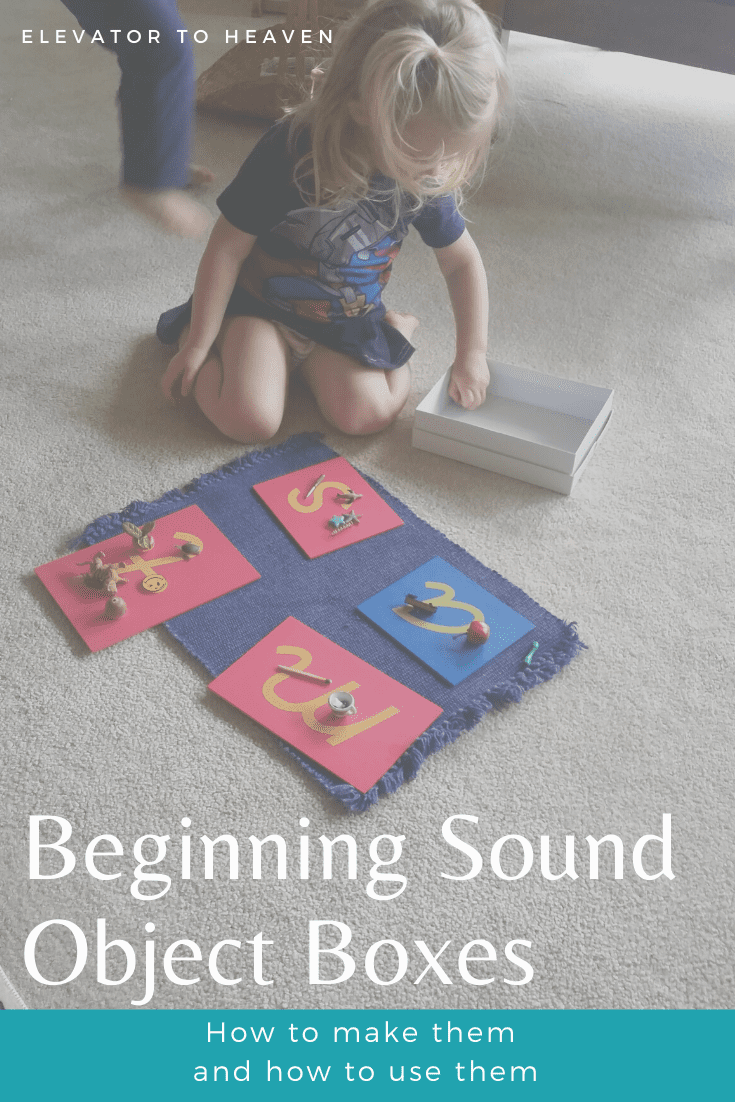
When I introduce the boxes, I take out the sandpaper letters that correspond with the box. As I lay the sounds out, I review them with William, having him tell me what sounds they make. Once the sounds are on the rug, I then open the object box.
Usually I begin by choosing an object myself, handing it to him, and asking him what it is. Then I ask what sound it begins with. Usually William is able to isolate the beginning sound pretty quickly, but if not, I repeat the word with a lot of emphasis on the beginning sound. If he gets it, I ask him to put the object on the sandpaper letter it begins with.
Sometimes, he need help isolating the beginning sound. Then we will go through each of them, placing the object on the sound, saying the sound and then saying the object name. This helps him hear the differences. You can see it above in the picture where he’s trying to figure out what sound “strawberry” begins with.
The first couple of times, we don’t usually go through all the objects in the box because it’s too much. Sometimes I choose an object, sometimes I let him choose. But my goal is to slowly build the number of objects we do until he is able to find the beginning sound for each.
This is the point that I know he is ready to do the activity alone. The next time we take out sound work, I step back and do not participate, with hints or suggestions for process. I let him do the box entirely, whether I notice that he’s made mistakes or not.
When he’s finished with the box, before he puts it away, we check it together. For each letter, we say the sound, then touch and say the name for each object he’s chosen to place on it. If we come across a misplaced object, I might say something like, “hmmm, that doesn’t sound right,” and then I’ll repeat the list to see if he hears the difference. Sometimes he hears it right away and will place the object on the correct letter. If not, I simply take the object off the letter and place it on the rug. Then when we are done checking all the letters, we’ll try again together with the objects he missed.
Other Beginning Sound Extensions
I love the beginning sound object boxes, and they have been the most engaging beginning sound work for both kids so far. But sometimes, it’s helpful to have other activities that work on the same skill to increase variety and keep them interested. For beginning sounds work I’ve found 2 Melissa and Doug materials that I really like.
The first are these alphabet puzzle cards. I love the vibrant pictures, and I love that they are self-correcting, meaning that only the matching pieces fit together. The way I use them is I pull the sounds that William is working on and place them in a smaller basket. This way he’s able to use them without being overwhelmed. G still enjoys pulling out the full set when she has her choice of language works, which tells me that remain engaging even as my kiddos age.

The second resource I love is this magnetic wooden alphabet puzzle book. Full disclosure, I’m not sure that it’s made any more (we found ours used), but you can find some on ebay, and it’s definitely worth it.
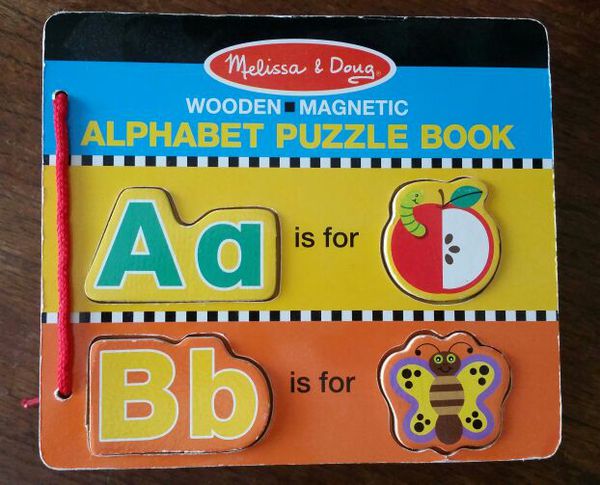
The way I use it is I take the letters and pictures for the sounds that Will is working with and place them on a magnetic white board (a cookie sheet also works great). Then I mix them up and he matches the sounds and the letters, just like the object box.

What’s Next?
Once William has mastered all of the sandpaper letters and all of the object boxes (which takes a very long time by the way), he’ll move into working with the moveable alphabet, the next step towards reading using the Montessori method.
3 thoughts on “Montessori Language: Beginning Sound Object Boxes”
Comments are closed.