Last post, I wrote about the beginning sound object boxes, and before that we covered how to use the sandpaper letters. Once your child has mastered those, they will be ready for the moveable alphabet. The moveable alphabet is probably my all time favorite Montessori material. If I was on a desert island and could only bring one Montessori material with me, it would probably be this one. It’s that good.
This post contains affiliate links. To read the full disclosure, see my about page.
What is the Moveable Alphabet?
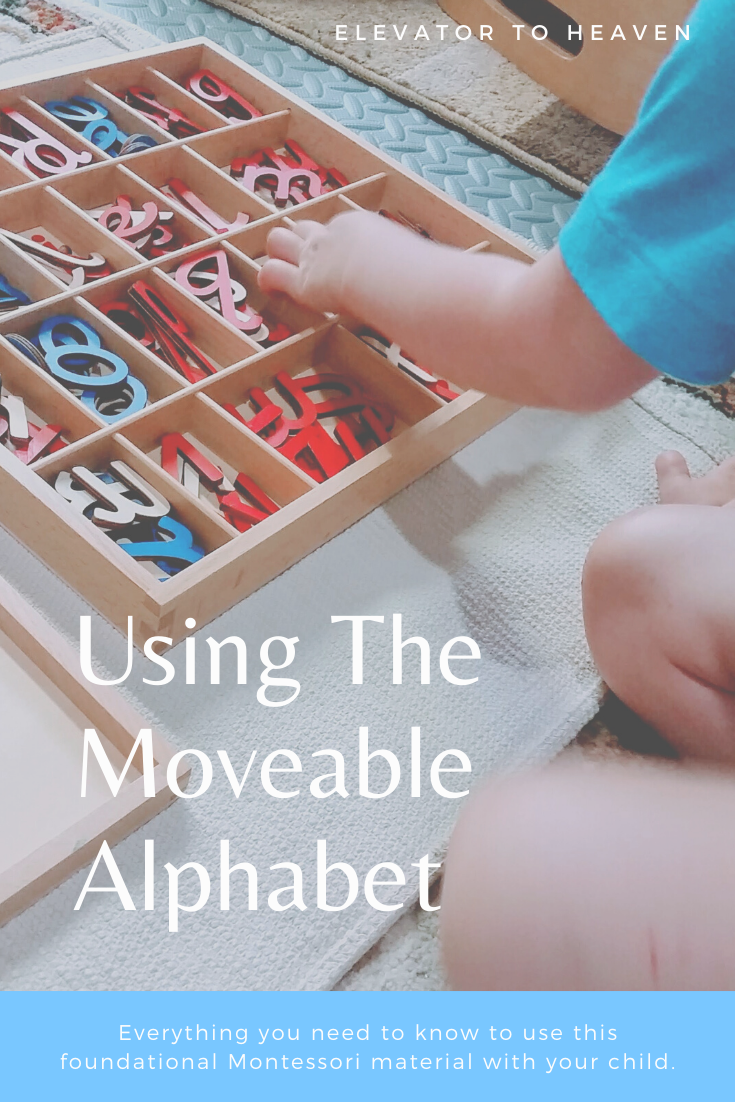
In short, the moveable alphabet is just what its name suggests- its a box that contains all the letters of the alphabet (multiple copies of each), that are designed to be moved and placed to make words.
Moveable alphabets usually come in a box that separate each letter from the others. Letters are arranged alphabetically to facilitate easy finding of the letter a child needs. You’ll notice that in all sets, no matter the material or format, the consonants are red and the vowels are blue. This is very purposeful and helps a child to internalize the differences between the two. This becomes important later as they learn that vowels make different sounds depending on their placement in a word.
Where to get a Moveable Alphabet?
Once upon a time you could only get a moveable alphabet from a Montessori supplier, and they were very, very pricey. You can still definitely do that. Alison’s Montessori and Adena Montessori are two very reliable suppliers who produce consistently quality materials. There are certain Montessori cultural works that we buy from them, especially when they’re running sales. These days though, you can find quality Montessori materials on Amazon, as well as used materials on Ebay.
Traditionally, moveable alphabets have been made out of wood- following Maria Montessori’s general guiding principle that materials should be durable, practical, and also beautiful. Nowadays, there are lots and lots of options for families who don’t want to purchase a wooden set.
That being said, this is one of the materials that I would definitely purchase wooden. There really is something incredibly special about the wooden sets. They inspire reverence and excitement in a way that paper or plastic don’t.

This is the set we have. It’s a bit pricey, but I knew I wanted a durable set that would last us through all of our kiddos, and I wanted it to be a D’nealian set. A moveable alphabet is a foundational Montessori material, one of the few that I absolutely didn’t want to DIY or scrimp, so I put it in our homeschool budget for the year. This one is fabulous. It’s a quality piece and comes in a wooden box. I can’t recommend it more.

If you want a wooden set but are looking for traditional print, Elite Montessori makes this set that is of good quality.

If magnetic is more your style, consider this set. Personally, I would take out the uppercase letters though . . .
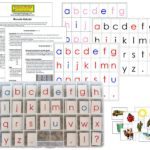
If you want to DIY your own moveable alphabet, I recommend heading over to Montessori Printshop to purchase their PDF file, then print on card stock and laminate.
How to Use a Moveable Alphabet

Now that you know what a moveable alphabet is and where to find one, let’s dig into the nitty gritty of how to use one.
With a moveable alphabet your child will actually learn to write words before he or she learns to read them. This probably sounds backwards, but bear with me, I promise it makes worlds of sense.
The other piece you’ll need before you begin are some C-V-C words. C-V-C is a teacher’s way of saying simple 3 letter words (consonant-vowel-consonant). For these, you can do one of two things- you can find a bunch of objects that are C-V-C words (take a peek through your beginning sound object boxes if you like) or you can make picture cards.
Not wanting to gut our object boxes, I went the picture route. Instead of taking the time to think up the words and make my own, I purchased this PDF from Montessori Print Shop. It has 87 picture cards that use all the short vowel sounds. I printed them on card stock and laminated them so that they would last through all of our kids.

Choose one type of short vowel sound to begin with, and then pick a few cards. When starting out, I wouldn’t choose more than 3.
Bring your moveable alphabet and picture cards to the rug. Place the picture cards on the rug, and then ask the child to name the first picture. After they’ve sad the word, ask them what the beginning sound is and have them find it in the moveable alphabet box.
Then ask if they can figure out what the next sound is. You may have to say the word slowly with emphasis on the middle sound. It helps to do one vowel sound at a time at first, so the child learns to pick out that sound in a word.
Once they’ve found the middle sound, then you ask them to listen for the ending sound.
Repeat the process with the other picture cards you’ve chosen.
It’s worth noting, that your child will not be able to read the word they’ve written out. They will be able to tell you it because they look at the picture, but reading it themselves will come naturally and in time (more about that later).
Once your child is able to isolate all the sounds in the C-V-C picture cards without your help, they’re ready to work independently. At this stage, I usually let them choose which pictures they would like to (3-5 at a time is a good number) from the vowel set we’re working on.
When we switch to a new short vowel sound I typically go through the first round with them before letting them work independently.
Most children will spent months and months on C-V-C words before they are ready to move on (the sheer number of different words is one of the many reasons I love the Montessori print shop set, it keeps everything new and fresh). One sign that your child might be ready for more is when he or she has started reading the words they have just spelled back to you.
Once Your Child Has Mastered C-V-C words
Once your child has mastered the C-V-C words, they’re ready for words that have four or more letters but are still phonetic (i.e. lemon). You can get picture cards at Montessori print shop, or you can hunt through your object boxes for tiny objects that have blends.
After they have gone through the more difficult but still phonetic series, you can begin introducing words with blends, as well as words with long vowel sounds.

For blends, I usually choose one blend, and then make as many words as we can that contain that blend. So for example, if I want to to “sh” words, we might make ship, shop, shirt, shot, and short.
For long vowels, I have them make a short vowel word, and then show them how adding a “bossy e” changes the word and makes the middle vowel say it’s name. For example, Tim becomes time.
Moveable Alphabet Extensions
The moveable alphabet on it’s own is an incredibly rich resource, but there are still a few extension materials I like.

These moveable phonetic reading blocks are a great addition to your C-V-C work. There is one set of blocks for each short vowel, and you twist the beginning or ending sounds to make new words. It’s great for showing what happens when you swap out a single letter- bug to rug for example- and still have the same endings.

These C-V-C word puzzles practice the same skills in a different way. Having multiple methods for learning the same thing can be helpful maintaining interest while waiting for mastery.
Writing with the Moveable Alphabet
One of the reasons that the moveable alphabet is so brilliant is because it allows young children to write before they are physically ready to hold a pencil and make letters. Maria Montessori observed that children were capable of making sentences before their hands were strong enough to write, so she encouraged the use of the moveable alphabet to start writing.

When your child has been working with the moveable alphabet for some time, and you believe them to be ready, you can offer them the option of making their own sentences. What’s important here is that there is no correcting spelling and that capitalization and punctuation haven’t happened yet. If you notice the photo above, G has mispelled most of the words, but it makes sense phonetically. This is what you want.
Usually I write the sentence for them on a piece of paper, just as they’ve written it, and then let them illustrate their sentence.
What’s Next?