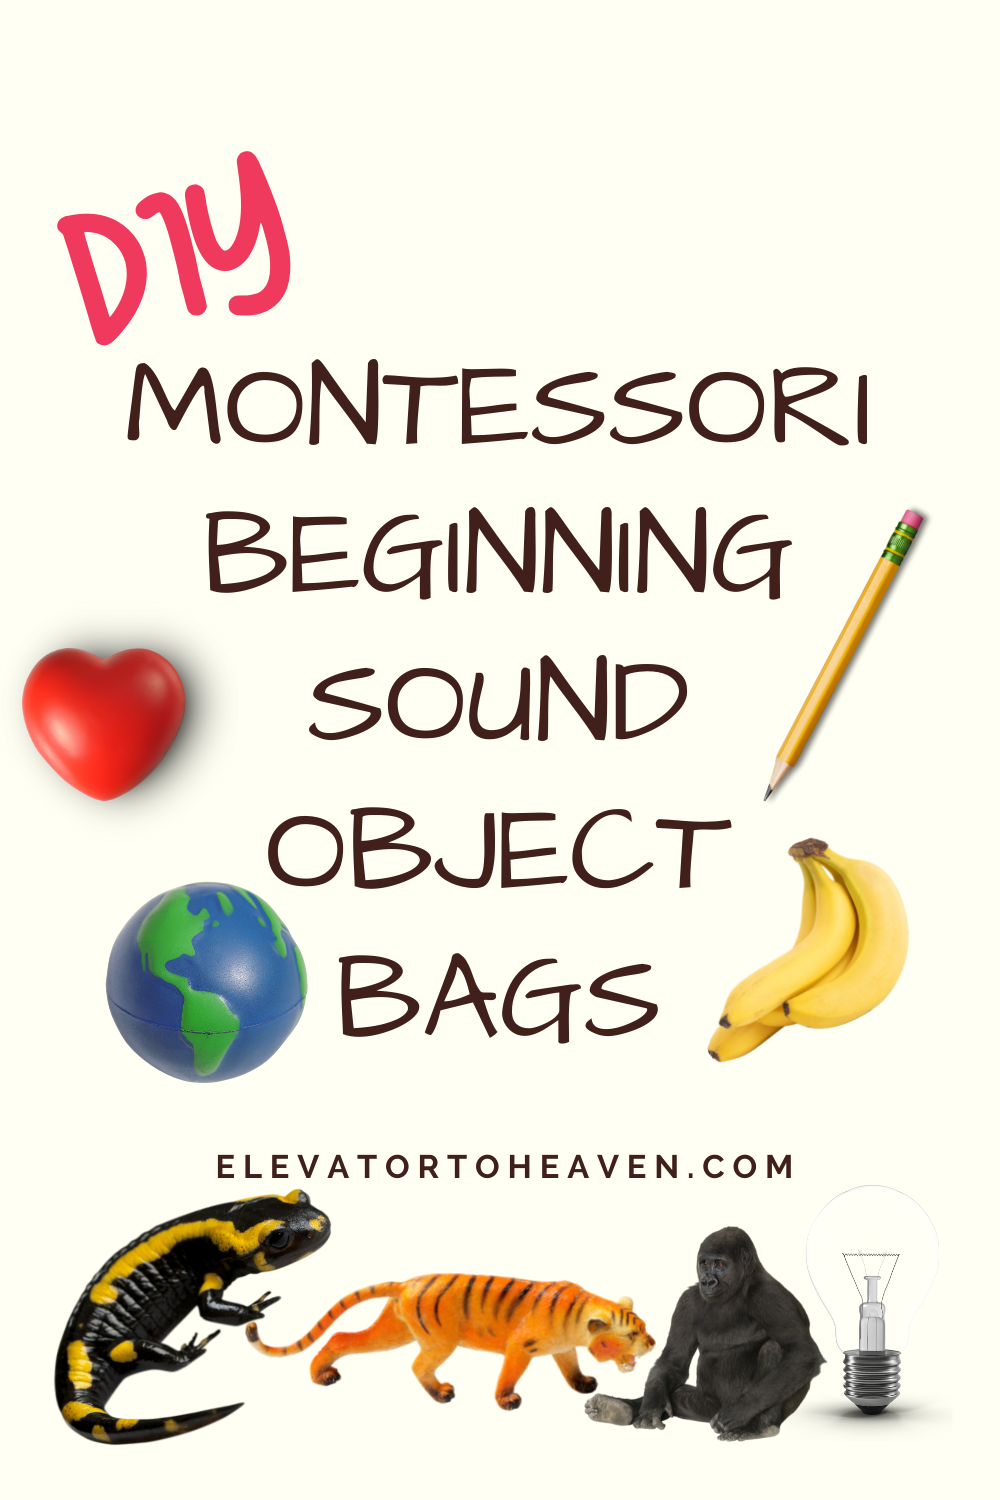
If you’ve read my posts on learning to read, you know that I love everything about the Montessori approach to teaching reading. (If you haven’t, take a peek here, here, here, and here). Charlotte and Lily (our niece) have been working with the sandpaper letters and are ready to investigate my favorite stage of the process: Montessori beginning sound objects. Since its been several years since I first put together our boxes, they were in need of an upgrade, and I thought I’d share with you what I did.
This post contains affiliate links. For the full disclosure, visit the about page.
What are Montessori beginning sound objects?
A quick review: When a child has learned to identify the sounds that each letter of the alphabet makes, they are ready to start identifying beginning sounds, meaning the sound that a word begins with. This important precursor to reading is taught using beginning sound objects.
These teeny tiny objects are endlessly fascinating to young children and are such fun to work with. My previous blog post will show you more about how to use them, so be sure to check it out if you aren’t familiar with working with Montessori beginning sound objects.
But back to making the bags . . . .
Choosing the Groupings
When we teach children sounds, we use smaller groupings of letters. This allows for easier memorization and recognition.
Here are the groups of letters I put together. These are designed to have a vowel in each group.
- m, s, a, t
- c, u, p, z
- v, q, k, y
- w, i, g, l, j
- b, f, o, x
- h, e, n, d, r
Prepping the Bags for Beginning Sound Objects
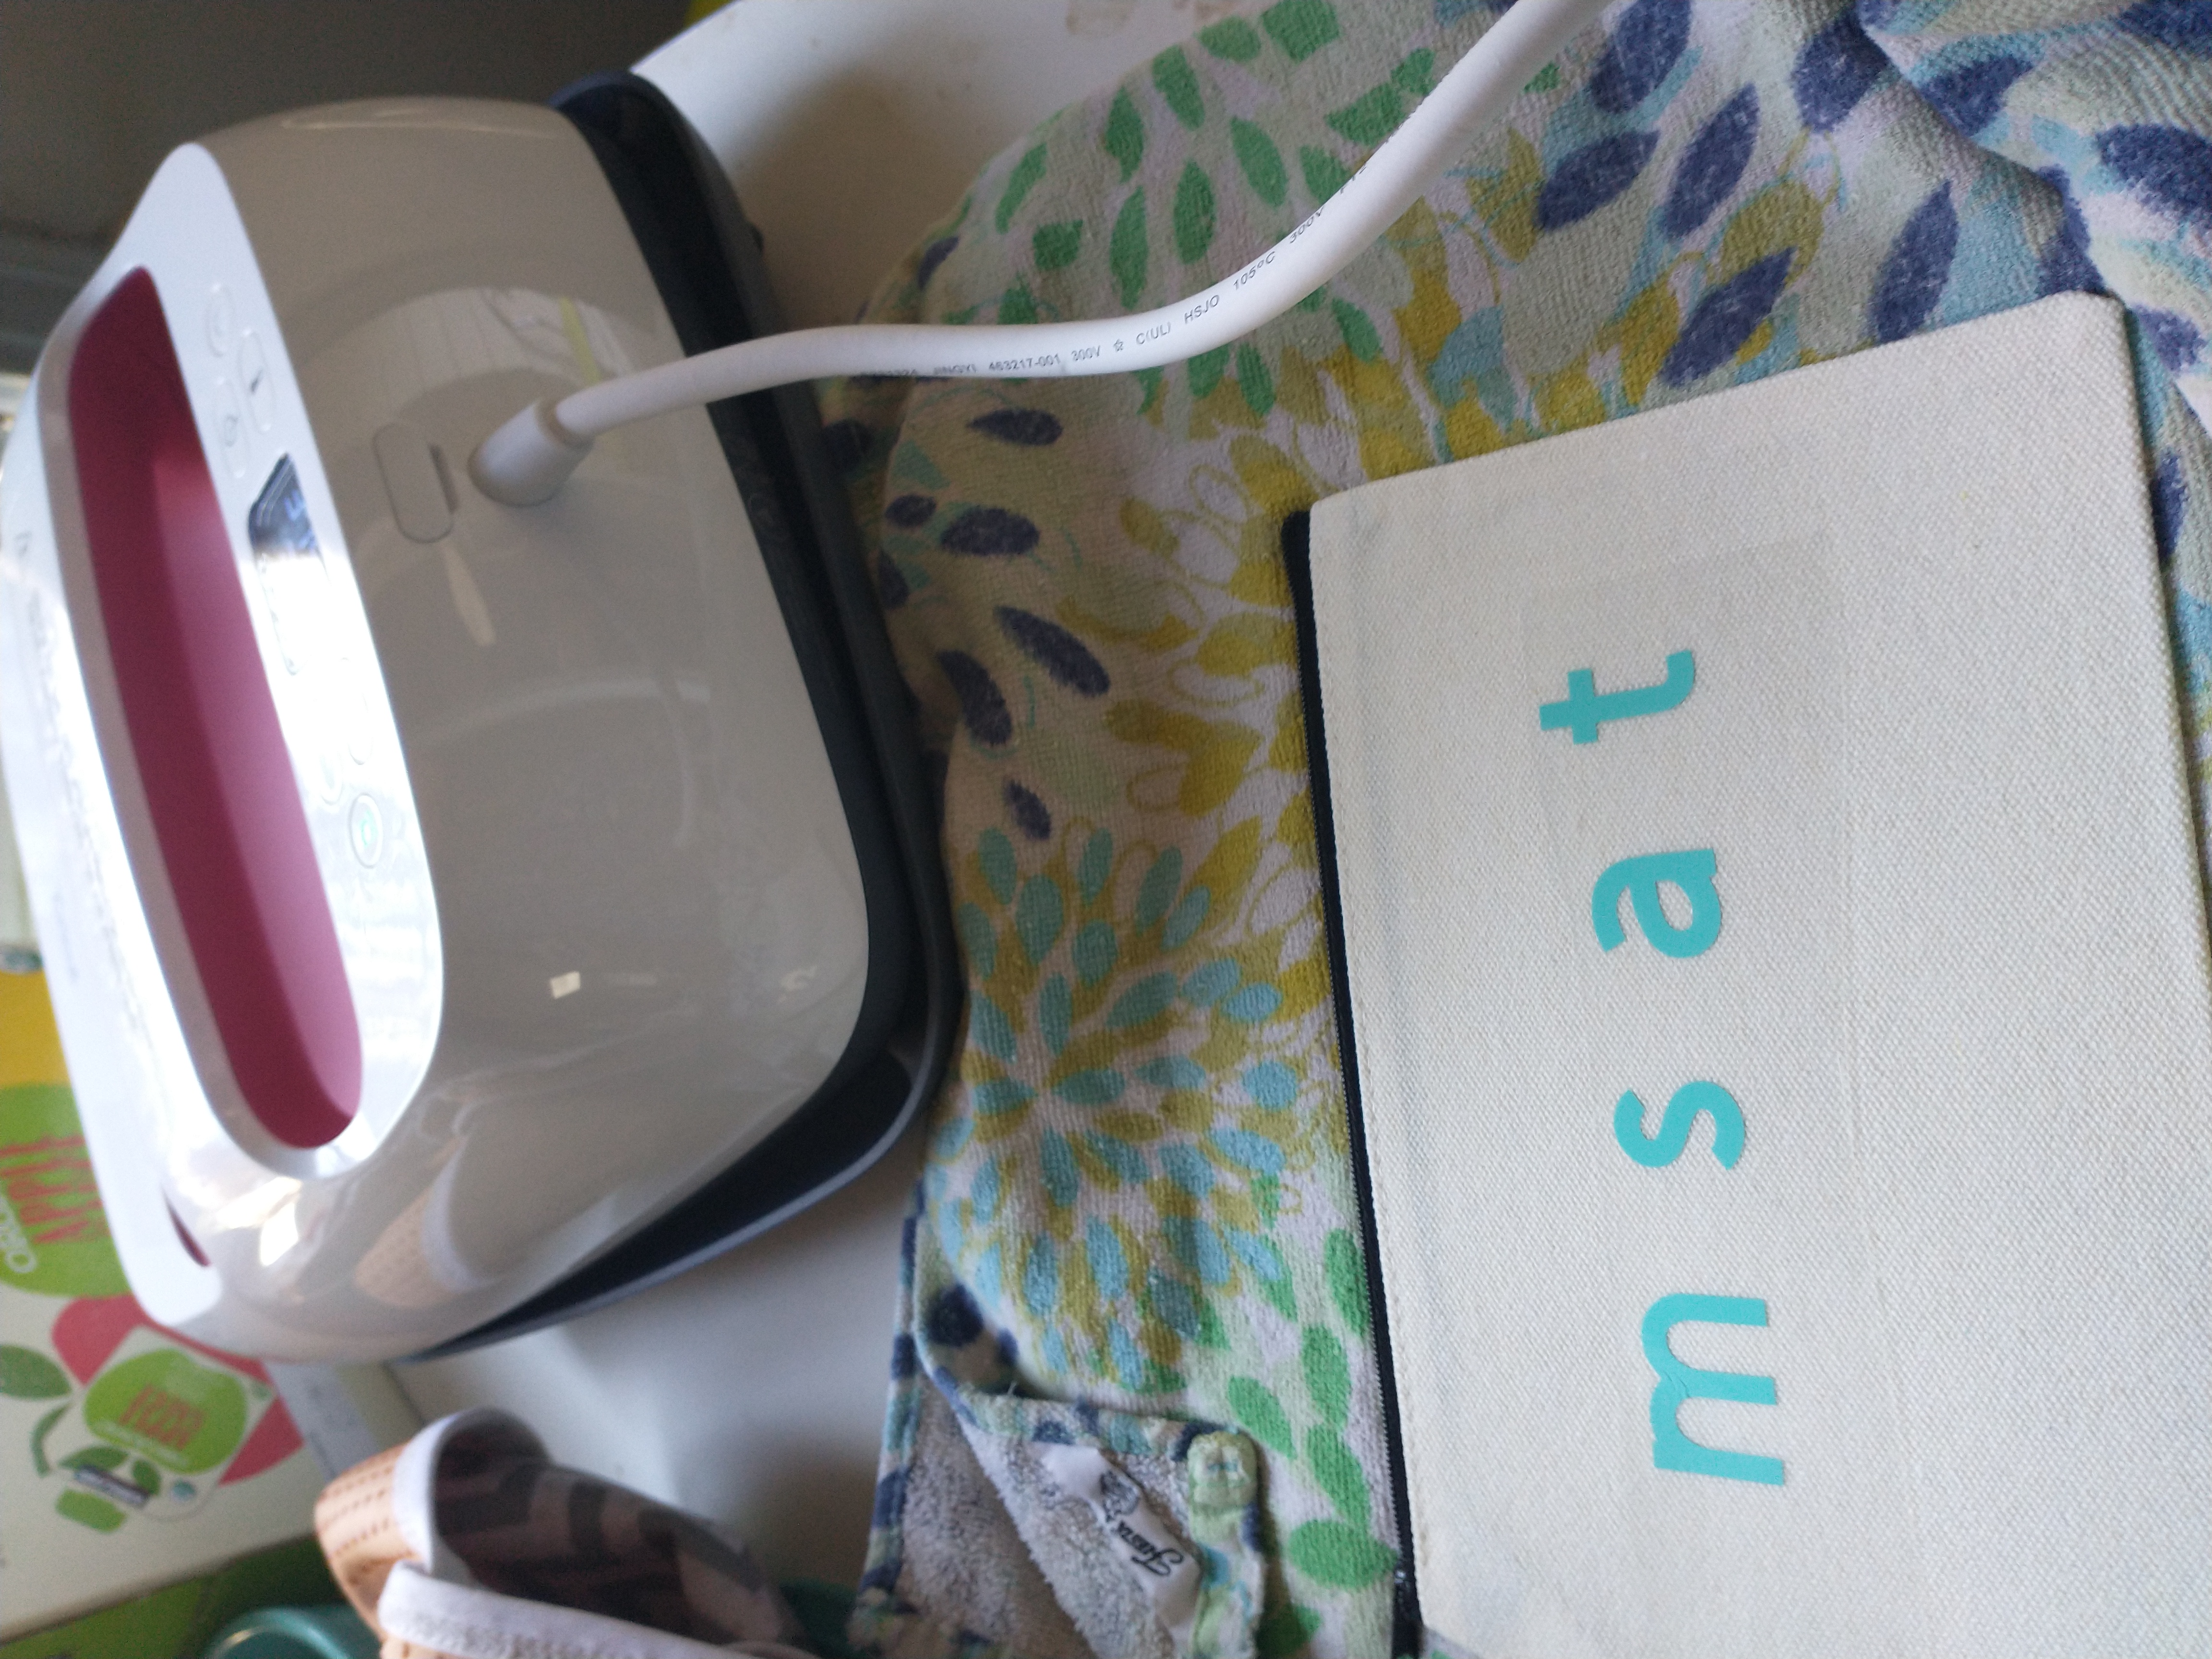
Using a Cricut Maker borrowed from a friend, I made simple letters on a turquoise iron on vinyl. I then applied them to these canvas bags from Amazon. I like the size, and the durability of them. I didn’t want anything flimsy or too large. These are just perfect for holding the size objects I was looking for.
Following the instructions for the heat press made it very easy to attach the letters to the bags.
Adding the Beginning Sound Objects
When putting together objects for each of the beginning sounds bags, a few things are important to keep in mind:
- Do your best to get at least 2 objects per sound
- It’s okay for some sounds to have more objects than others- the reality is that we don’t use them all equally in English
- Look for objects that are about one to two inches large: this is the key to keeping little hands and eyes interested in them!
- Don’t choose too many objects, you aren’t going to want your child overwhelmed by the amount of sorting to do. If you have a child who needs lots of practice and a variety is important for maintaining interest, you’ll want to only put out a few objects each lesson or rotate through them.
- Only choose objects that start with the normal letter sound for consonants and short vowel sounds so as not confuse your child (i.e. egg is a good e object but easel is not. Likewise, cat is great for c but circus is problematic).
Choosing Your Objects

There are several options for collecting objects:
- You can hunt them all down for yourself: thrift stores, Buy Nothing Groups, and your own kitchen junk drawer are all great places to find tiny objects. This is a great choice if you’ve got time and energy and will allow you lots more latitude for what you’re including.
- You can buy a pre-made set from a Montessori store, Etsy, or Amazon. The benefit of this choice is that it saves time- the work of finding objects that begin with each sound has already been done for you. The downside is price- some can be pretty expensive, and you can’t control for quality. This is the set I have, and while I don’t use all of the objects that came with it, I probably used about 85%, which made it a pretty good bang for my buck. It also allowed me to round out letters I only had one or two for (looking at you Z and I).
- You can use a hybrid model and do both. This is what I’ve found to be best for us. I like having options, and with two children working on their sounds at the same time, it’s helpful to have more sounds in each bag.
Start Using your Bags!
And that’s easy- a simple DIY Montessori work that will keep your three year or four year old engaged over and over again as they learn their beginning sounds